Thursday, March 27, 2014

Out with the OLD

We finally tackled the old fluorescent lighting...YAY!!!


Here's what I had to deal with on a daily basis....Bleh!!!

Not to mention the color of the lighting no matter what type of bulbs we bought.  Believe me, I've tried them all!


Look at the difference in the color between the two.

The light in the back was installed the other evening and became a longer job than anticipated since it was tied into another light in the closet.  Thankfully, it was no big deal other than having it wired a little wrong...OOPS!  My brother in law came to the rescue and showed me the error. 
Easy peasy....

The next light was up in about an hour...not too bad after the other one.


After a little bickering between the both of us with the other light, we worked out the next one with ease and even had a little bit of fun.  

If you look at the photos, you'll see the fluorescent light was up high so we had to come up with some way to brace the light and bring it down to the ceiling tile.  The metal braces are wonderful!  Safe and easy to install!  I attached  two pieces of wood to the floor joists  then attached the metal brace along with the electrical box down on top of the ceiling tile.  Then brought the electric wiring in on the side and secured it.  Then that's where the hubby stepped in and finished the rest.


I normally do not like showing the ceiling, but the lighting is so much better.  I bought a 2 pack light kit at Lowes for under $22.   My kinda deal!!!

I think they are pretty!


Not bad for the price are they?


And so much brighter!


I had originally planned on leaving the fluorescent light in the closet, but now I have changed my mind with how much brighter these lights are.  So I have one more to do then I'll be done!

Next up is to paint the ceiling and put up crown moulding.  Shhh, I haven't sprung that one the hubby just yet so let's keep that a little secret for now.


Wednesday, March 26, 2014

A little Trim Goes a Long Way

This weather we are having is crazy!  We have snow on the ground from a white out we had yesterday and last night.


You all know how much I adore snow, but this is getting old.  I am so ready for warmer weather!

Now on to what the hubster and I did the other evening.....we added some trim to our front entry door.

Here is the before:


It looked so plain and generic no matter what I did to try to spruce it up.  And the brass hardware wasn't helping either.

I looked at many photos on Pinterest trying to get some idea as to what I could do without spending a fortune.  I am a thrifty gal at heart so spending too much money really bugs me.


We went and bought some outdoor molding at Lowes to trim the door with after I came up with this design.  No mitered corners to match up was my goal!


This was after we finished it...the screw heads hadn't been patched yet and the door hardware had a fresh coat of silver paint which I didn't like.


And here, all finished the next day.  This project cost right at $50.  I spray painted the door hardware with white Krylon Fusion paint.  Much better and it seems like it will wear really well.  I'll have to wait until warm weather to paint the brass strip at the bottom of the door because it will not come off.


I loved my welcome sign, but it didn't fit anymore after adding the molding.  The applique' was the perfect size and a last minute purchase as we were leaving Lowes.
I really should get some form of pay for advertising for Lowes shouldn't I?  

I love this molding....so easy to work with and no chance of rotting or needing paint!


The new hardware made a huge difference from that old brassy stuff and the boxwood wreath adds simplicity with a pop of color no matter the time of year.


One more thing added to my ever growing list...add trim to the windows now.

I know my hubby just loves me.....

Sunday, March 23, 2014

Not the Right Size

I found an old solid wood door at Habitat that must have been a waiter door at one time that was in excellent condition.  The paint was in perfect shape, actually the perfect color but the brass plate up above where a door knob would go made me scrunch my nose.  I have spent lots of money trying to replace door hardware from brass to nickel these past few months...I sure wasn't back tracking!


Not to mention the brass plate on the bottom.  But other than that,  it was the perfect measurements and everything....at least I thought so.

When we got started to replace the old master bathroom door, I measured it and found that it wasn't what the sticker had stated.  I didn't have my trusty tape measure with me so I had to rely on it being accurate.  Next time I will have my tape measure!
So our brains began to think.....build up the door jam!  So off to Lowes I went for a piece of door jam.  SIGH....It turned into a project that took 2 days!


But worth every second of it!  Sorry, I didn't take a photo of the original door.  It was a mobile home door that we had given to Mom's husband to use  here.  The garage was supposed to be his work area so it didn't really matter to him I guess.  Many years later, a divorce and us buying the house from my mother, I couldn't stand that door any longer!


We have six panel doors throughout the house so this made sense to me, plus it being solid and old had me there too.  It looks perfect!


Well...if that wasn't a headache enough to fool with, I then thought that the make-shift closet area that I made for the hubster's stuff looked plain.  See the cornice to the right?  That is our walk in closet.  I wanted to make another piece to tie into it but sure didn't want to ask my sweetie for anything else after that goofy door...but I did. lol   So I got some wood from the garage, measured and sweet talked him into ripping it for me.  I can do simple, short cuts, but a skill saw on a long piece intimidates me a little.


Tadah!  Not too shabby is it?  I took down the metal bird brackets I had hanging a little further out and put them here.  I made the curtains and put them up, not puddling in the floor as bad as they were.


I wanted something up above, so I decided on tea cups.  I know, not really what most would think of for a closet.  But remember, my china cabinet is right at the entrance so it ties in nicely.


I am quite pleased...now to replace that fluorescent light!  I'll be working on that this week hopefully.  I bought two to do the other one also.  You all say a prayer for me that I can sweet talk you know who into hopefully helping me and that we don't bicker.  wink wink

Friday, March 21, 2014

Swapping Tables

Everything I do seems to end up with me swapping something out with things that I buy to re-do.  I get an itchy feeling to create at times, so I scan the local FB yard sale sites for furniture I can afford and then paint or do something different to it, then get rid of it.  
But like most always, I fall in love with it and cannot for the life of me part with it!


I bought this table separately from the chairs thinking they would look perfect together.  But when I started painting the table, my eyes began to see hearts.


I noticed when going through my photos, that the same time a year ago I was painting another table.  I've noticed this a lot with me.  I seem to do similar things around the same time of year, isn't that odd?

Anywho, this little table turned out so pretty and was snapped up as soon as I listed it.  I had thought originally about doing something similar like this to the new table.  
But....
I finished it and fell head over heels in love with the size, the plain white color with distressed edges and knew I was keeping it.  
But....
What was I going to do with my pink and white table that I loved?  No one was going to want a pink table....

So I decided to list it anyways, giving the option on painting the top white and see if someone would take it.


No sooner than listing it, someone "wanted" it!  Thanks goodness!


I was so happy and sad at the same time.  But doesn't the table and chairs look great together?!


And here is the new/old one.  The perfect size for my little family of four.  So much more room!!!


The island gives additional seating for those holiday dinners and I am storing away my two cane back chairs for additional seating for extra guests.  So it's a win win for me!


I like how I can see the mantel better and can actually walk around the entire set without moving anything.


Plus, my china cabinet has more room to be seen too.


I was so attached to my pale pink one and didn't think I could part with it.... but I'm really happy with the white top the way it is.

I know the photos may make it look small, but actually it measures 48 inches...almost 10 inches wider than my other table.  But where it is round, it really saves on space!

This Mama is HAPPY!


Tuesday, March 11, 2014

Spring is Here

Hello everyone!  
Life in my neck of the woods has been something!
Between the snow and ice we got 2 weeks ago and health issues, it sure has had my head spinning.

When these health issues pop up, I don't feel like doing squat.  And that always makes me feel worse because I get so much pleasure from creating or decorating.  But thankfully I have a great family that makes me laugh and to feel better by just being with me.  I am so blessed and God keeps reminding me of that when things like these happen.


So I am here to say that Spring is FINALLY here!

The weather is starting to get warmer, the birds are chirping and the Spring peepers are making their sweet music that says Spring is here.  So all of that makes me want to make stuff, especially with flowers!


I had this basket that is flat with a flower pick that I bought at Home Goods a long time ago.  It just never made me happy like it did in the store.  So I ripped it apart and redid it completely.  It was originally the natural grapevine color but I painted it white.
Here's a before...after I painted it.


It always hung lopsided.


Now it hangs perfectly!


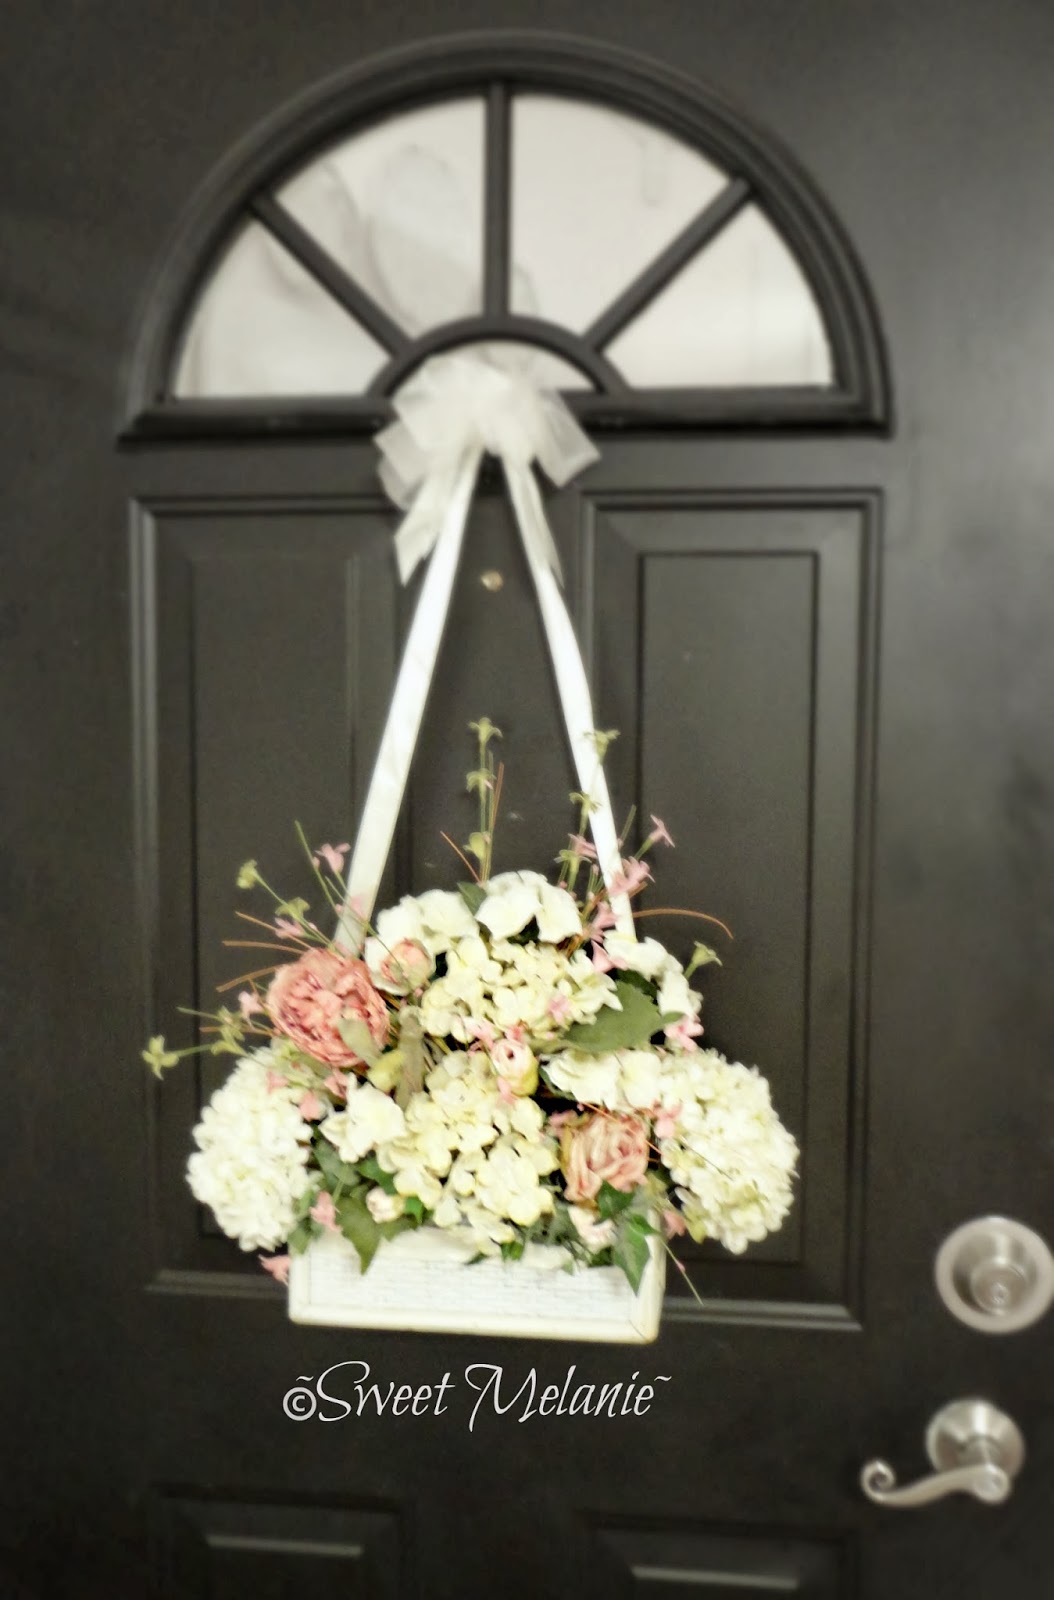
I've been wanting something different for the front door, so I made this from a planter that I had.  I have a glass storm door so I needed something thin.


It is the perfect width and it gives me that SPRING look that I love!  Plus, it stands out on my black door.


On a recent trip to JoAnns, I found this little Easter tin sign.  I couldn't resist...the colors had me at the front door!


When I hung the sign, I remembered my tree was in storage so I drug it out and set it here.  I love this little tree!


The glitter eggs and colors are what I so love about it!

So see how I am so ready for SPRING?  I love the snow but I love the flowers too....and I am ready to start planting!